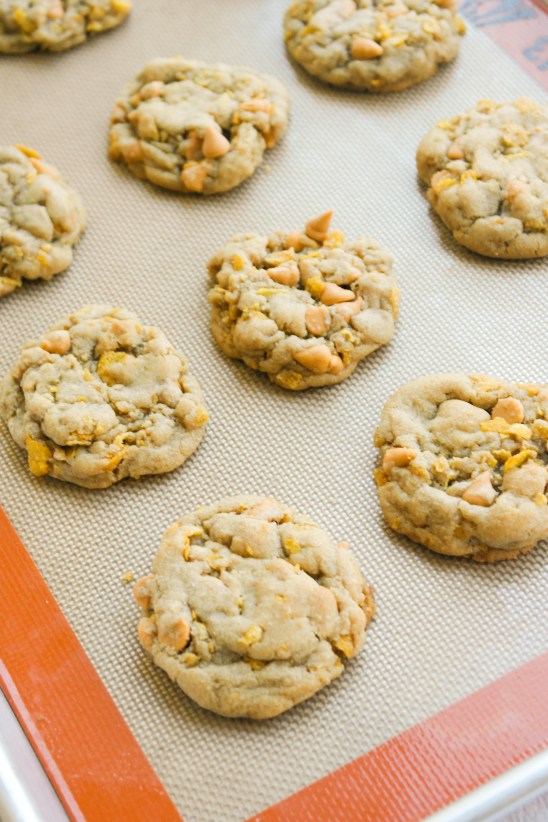
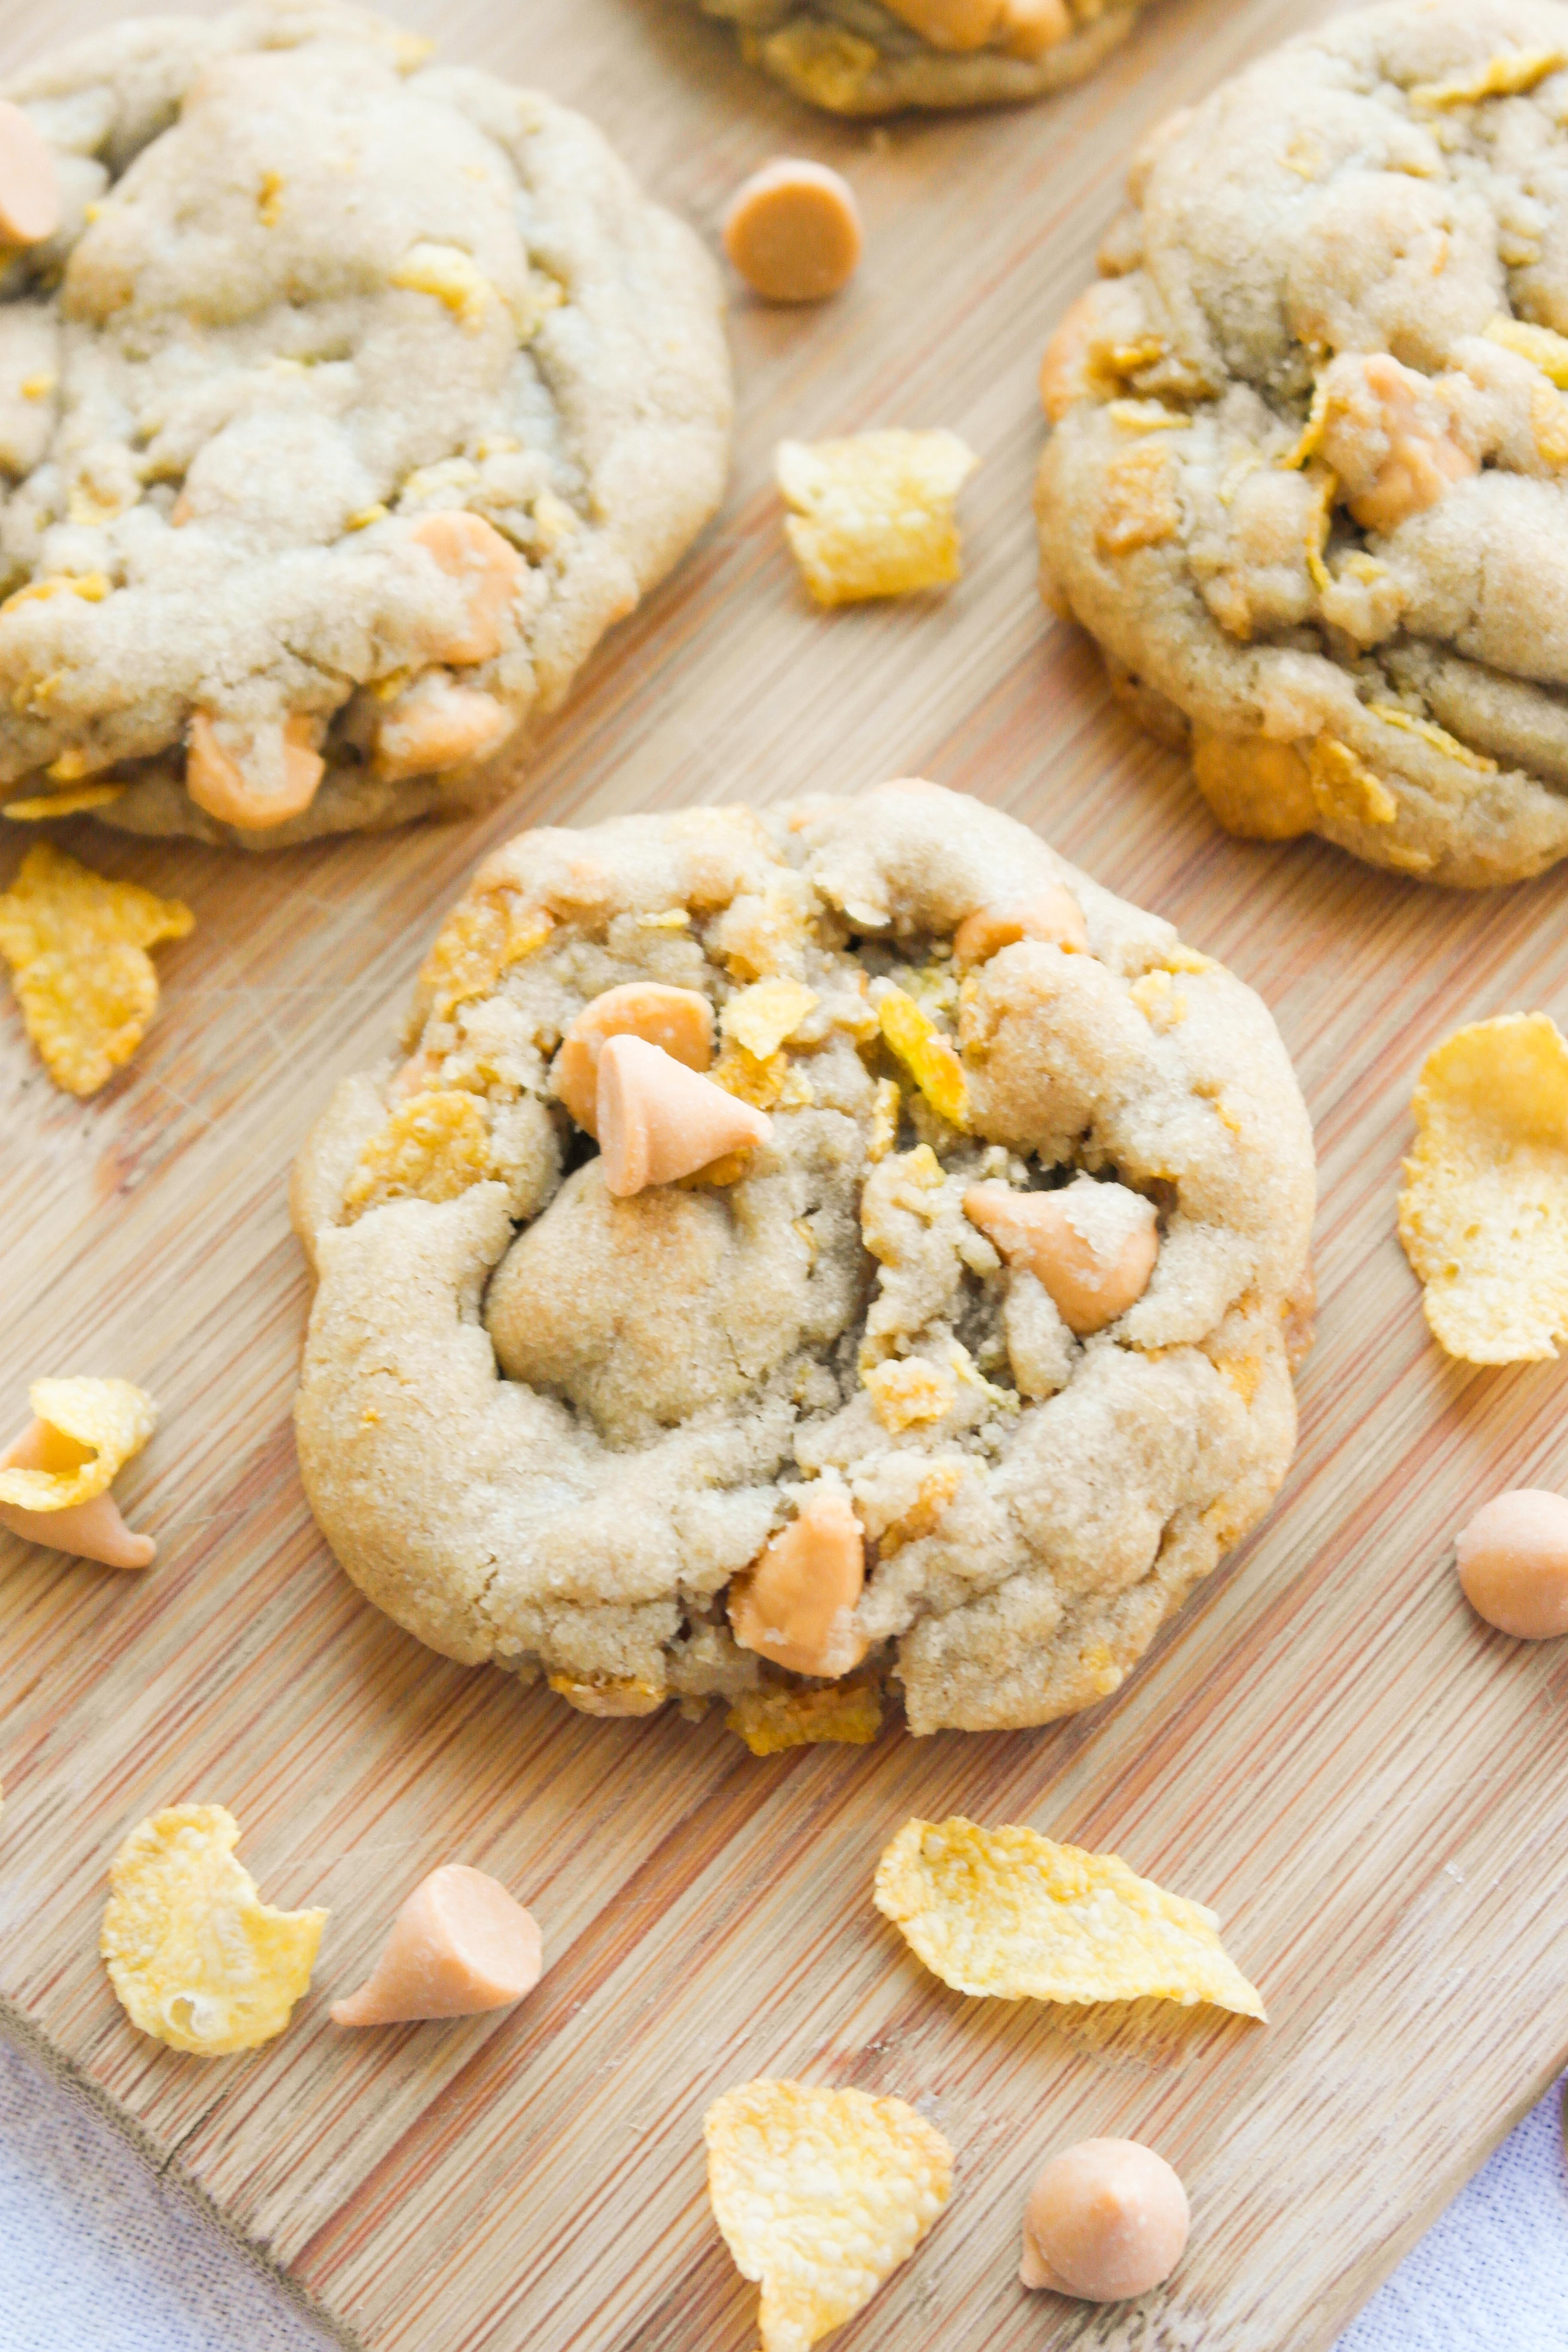
These cookies have a wonderful crunch thanks to cornflakes and are full of butterscotch flavor! It’s impossible to just eat one.

These cookies were a total hit. Once again, inspiration came from a variety of places. First, I nipped an unopened box of cornflakes from my mom when I was home last. It didn’t look like anybody would be eating them any time soon, so I took it upon myself to make use of them.
Second, when I visited New York City in early July, I tested out a few (very delicious) cookies from Momofuku’s Milk Bar. Amongst them was the Cornflake Chocolate Chip Marshmallow cookie. It was fantastic and I loved the crunch that cornflake added. Third, I had bags of butterscotch chips in my cupboards and I absolutely adore butterscotch, so why not?!

After a bit of research, I discovered that all of the Momofuku Milk Bar’s recipes are online. However, they require some odd ingredients and some extra steps. My goal as a baking blogger is to make simple, yet delicious, recipes that are accessible to readers. The Milk Bar’s recipe was not that. So this is an cookie inspired by Momofuku Milk Bar, but it certainly has it’s own personality.
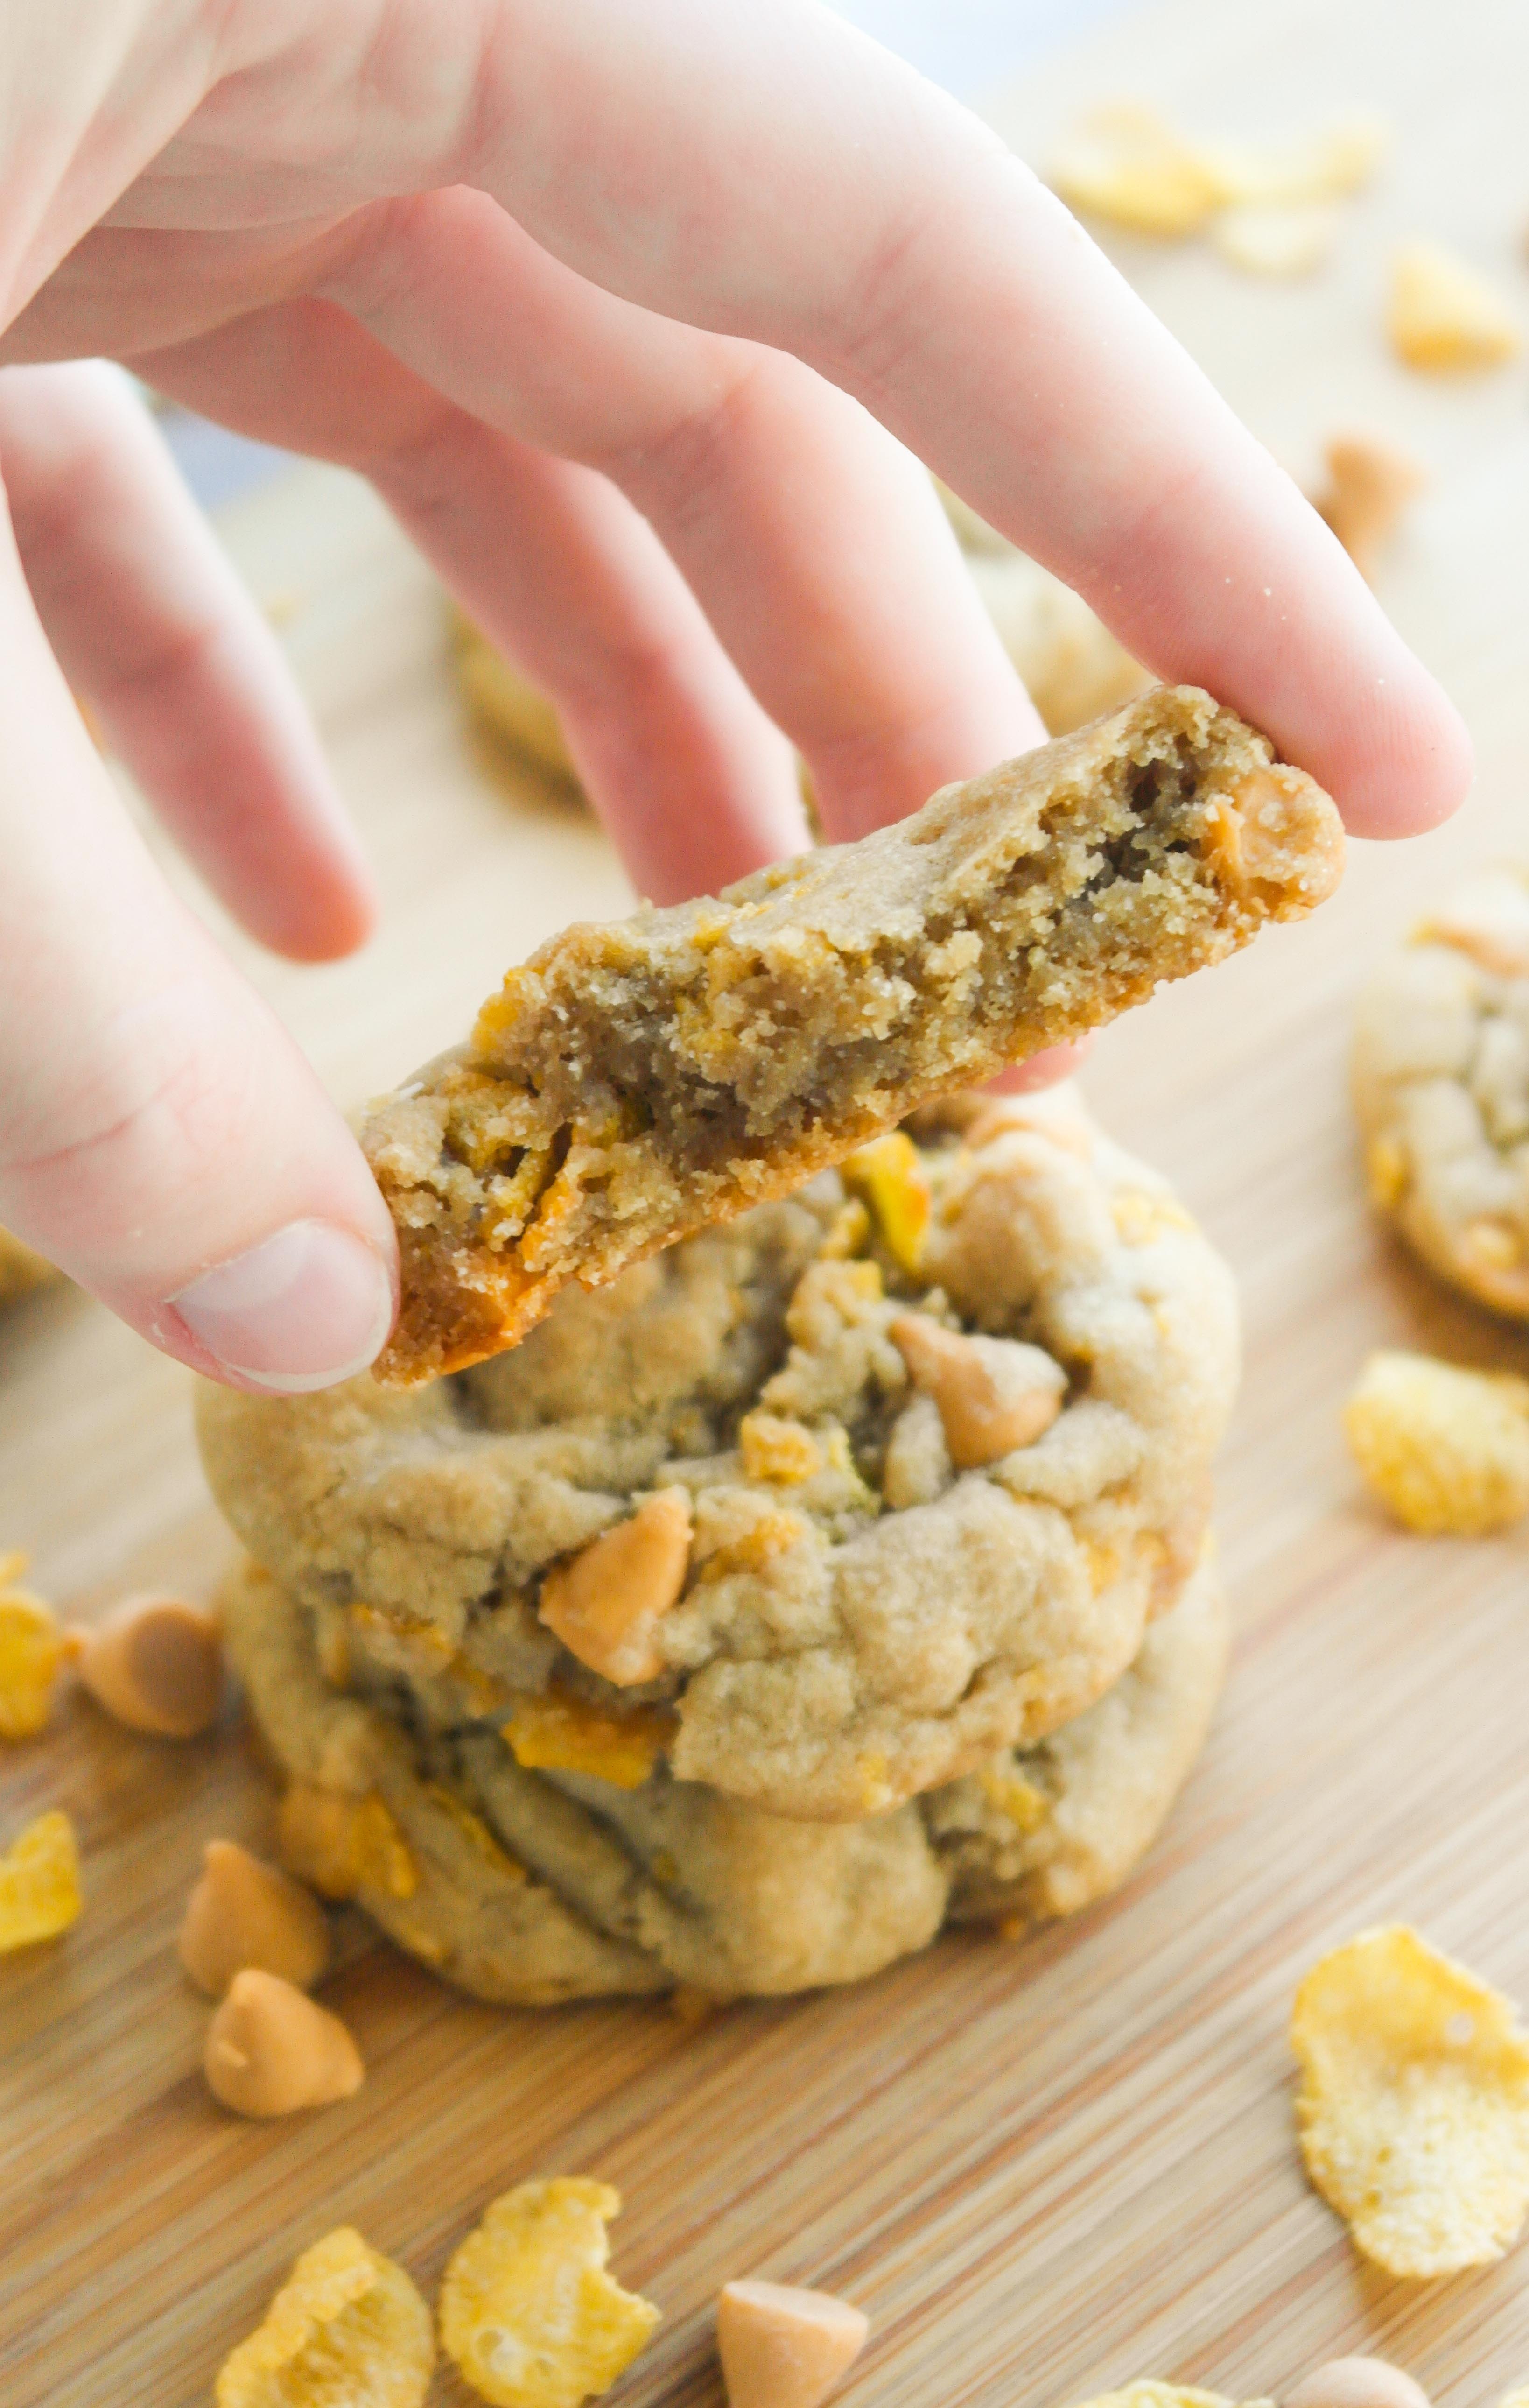
Speaking of simple and accessible and no odd ingredients that will make you run to the store: this cookie recipe does call for bread flour. Why? I find that bread flour yields a more chewy cookie because it was higher protein content. However, you are certainly welcome to use all-purpose flour! I tested three flours, bread, all-purpose and cake flour, in a previous experiment; although I liked the texture of bread flour, I found that there was only a minute difference between the bread flour and all-purpose cookies. So by all means! Make these cookies with all-purpose flour, but if you happen to have bread flour, I highly recommend it.

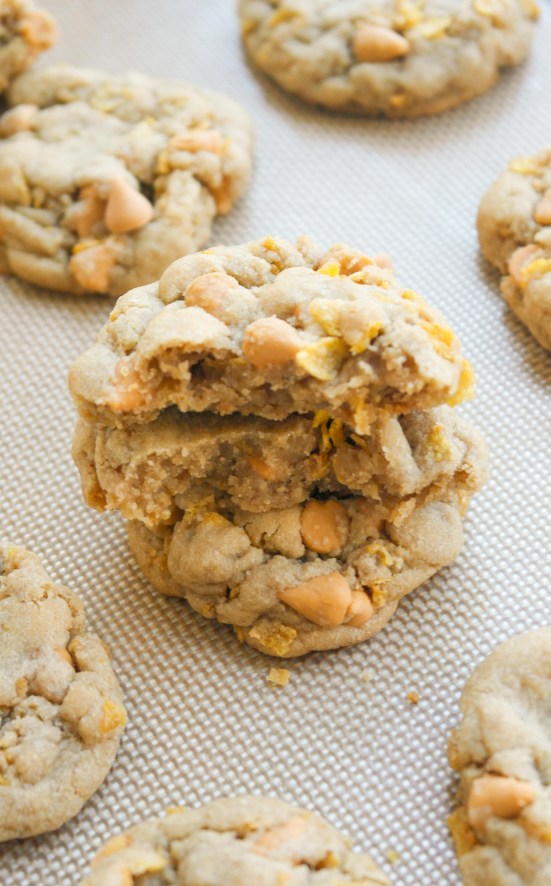
This cookie recipe is the chocolate chip cookie recipe I developed during my flour experiments, but I added and subtracted some key mix-ins. It yielded truly fantastic cookies. Two of my coworkers gave me hugs for making these cookies, so I would take that as a good sign.
Follow these tips to make a successful batch of cookies:
- Set out the butter fifteen to twenty minutes before creaming the butter and sugar. This way it’s easier to mix in and full incorporate the sugar and butter.
- Cream the butter and sugar for at least two minutes. Leavening only works on pre-existing air bubbles, so if you cream the butter and sugar for longer, there will be more air bubbles for the leavening to act on and thus more fluffy cookies. Delicious!
- Set the eggs out an hour prior to baking so they are room temperature when you mix them in. Or, put them in a bowl of warm water for five minutes. Why do you do this? Room temperature eggs incorporate better into the dough to produce a more even cookie dough.
- Mix the eggs in one at a time. Why? America’s Test Kitchen found that when you mix in eggs one at a time, you ultimately spend less time mixing the dough. This is good because the more you mix the dough, the more gluten forms. You want as little gluten as possible to form.
- Mix the flour, baking soda and salt together in a separate bowl and then add to wet ingredients. Why? This more evenly disperses the baking soda throughout the dough so you get more even cookies.
- After you add the flour to the wet ingredients, only mix until the flour is fully incorporated. The less you handle the dough, the more fall-apart-in-your-mouth the cookies will be. I even end up mixing the dough with my hands in the final phase of mixing so as to not over mix.
- Chill the dough for at least two hours or up to 36 hours. Chilling prevents the dough from spreading less, but it was another important consequence: the flavors are able to mingle and mix and produce a more tasty cookie with a greater depth of flavor.
- Use parchment paper or a Silpat mat. These hold onto the cookie to reduce spread; the cookies bake more evenly.
Happy baking! These cookies are truly extraordinary.
- 1 stick unsalted butter
- 1 cup (7 ounces) brown sugar
- 1/4 cup granulated sugar
- 1 egg, room temperature
- 1 1/2 cups (9 ounces) bread flour or all-purpose flour
- 1/2 teaspoon baking soda
- 1/2 teaspoon salt
- 1/2 cup butterscotch chips
- 3/4 cup cornflakes, crunched
- In a bowl, using a stand mixer or a hand mixer, cream together the butter and the sugars.
- Add the egg, but only mix until just incorporated. It shouldn’t look fully mixed in.
- In a separate bowl, mix together the bread flour, baking soda and salt. I highly recommend that you use a kitchen scale to measure out the 9 ounces of bread flour.
- Slowly add the flour mixture to the egg/sugar mixture. It will be a very dry mixture, so mix as much as you can. I finished mixing with my hands. Don’t worry! It should be dry.
- Mix only until incorporated. Meanwhile, measure out the cornflakes and crunch them up with your hands into smaller pieces.
- Then gently fold in the butterscotch chips and cornflakes.
- Chill for two hours or up to 48 hours. Remove from the fridge for about 15 minutes before rolling into balls. Roll into balls that are about three Tablespoons big. (These cookies will be massive and delicious!)
- If you don’t use the dough within that time, freeze it. A trick that I have is to roll the balls before I freeze them for easier baking. When you bake them from the freezer, let the dough thaw on the counter for a half hour.
- Preheat the oven to 350 degrees. Line a cookie sheet with parchment paper or a Silpat mat. Bake for 12-14 minutes, or until the top is lightly browned.
- Once baked, these cookies will last in a sealed container for up to three days.

these look so yummy!
This is a dream come true! Cookies and cereal fused together? Yes, please. They look amazing! 🙂
Hi Anna! Yes, they were absolutely amazing! The cereal made them so nice and crunchy! -Brita